
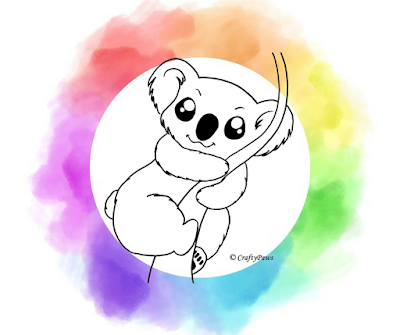
Coloring Brenda Bovine
A digistamp is a digital image that you can buy (or sometimes download for free) from craft websites. They are also called digital stamps or more often called "digis". Once you purchase your image, it's yours to immediately color and use on your cards! Koala T Crafts has several in their store to choose from!
 |
| Koala T Crafts Original Store |
First Things First
A great thing about digis is that they are usually high-quality drawings that can be resized without losing print quality! Brenda was chose to be a certain size when the card was designed.

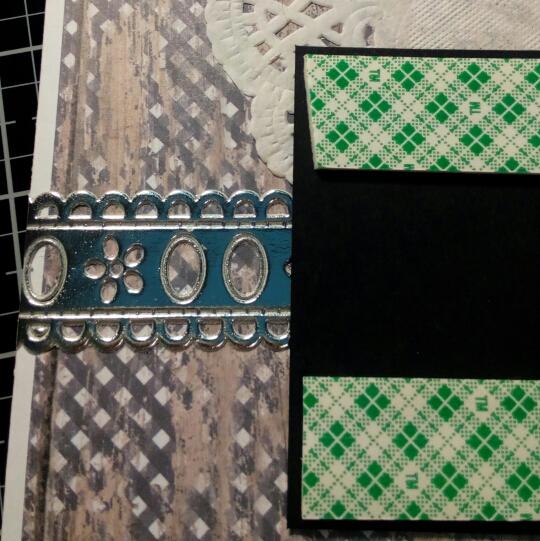
Brenda was printed on Spectrum Noir cardstock. Printed paper and embellishments were chosen first. This helped to decide what colors the background would be to best offset Brenda! A black cardstock was chosen to help her POP off the card!
 |
| Black cardstock was going to look great with the doily, silver trim and the black barnboard background paper with white polka dots. |
 |
| Black Cat 8 1/2"x 11" Cardstock |
 |
Trimming
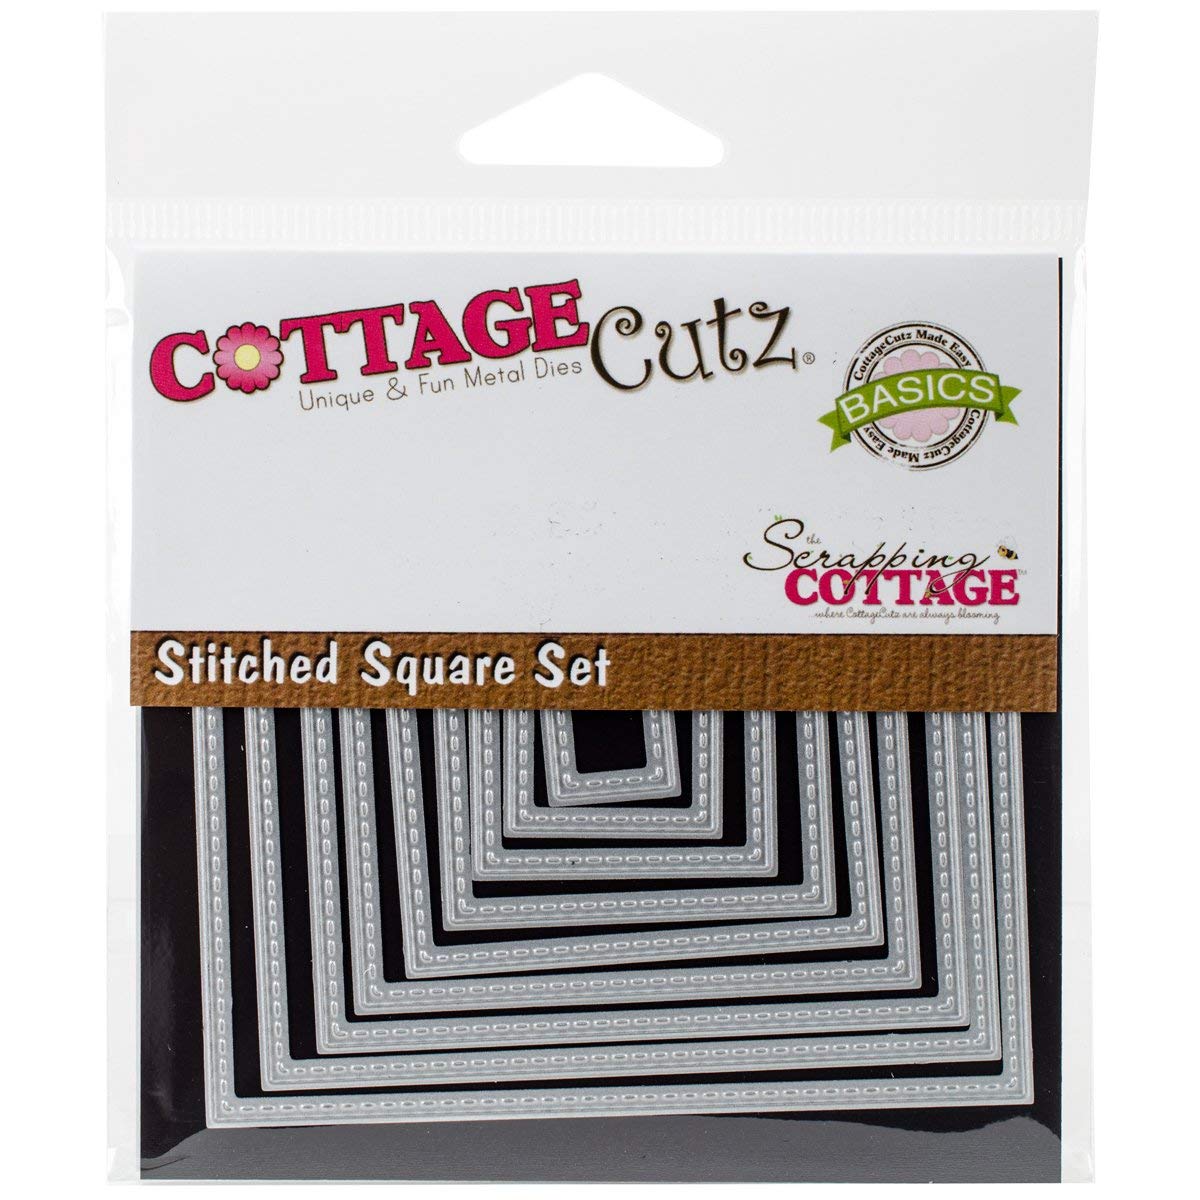
The digi was trimmed then ran through a Sizzix die cutter. A stitched square die was used.
 |
| Resized picture of Brenda Bovine being trimmed to fit through die cut machine |
 |
| Going through the die cut machine |
 |
| Perfectly sized with a stitched square die |
 |
Coloring
Poor Brenda needed to be colored! A palette of colors was chosen. Spectrum Noir alcohol markers were used. Her spots were colored using IG1 and IG5 and IG3 was used to shade under the chin.
 |
| Spectrum Noir Alcohol Marker Collection |
The darkest color, IG5, was applied first then the spot was colored using IG1, right over the darker color. Use small circles to create a soft blend and remove harsh lines.
Markers CR2 and CR3 were used to color the inside of the ears and the snout.
 |
| Coloring the spots |
Putting it all Together
Now she is placed on a black square of cardstock cut to 2 7/8"x 2 7/8". This leaves an 1/8" border showing around Brenda Bovine. ATG gun (Advanced Tape Glider) was used to adhere the piece of Barnwood paper to the white card base. A doilie was placed in the top right-hand corner and the pieces overhanging were trimmed.
Silver ribbon from Paper Studio was run through the Xyron Sticker Maker. It easily made the ribbon into a sticker by putting adhesive on the back of it!
 |
| Use of the Advanced Tape Glider (ATG) |
 |
| Advanced Tape Glider plus two Refills |
Silver ribbon from Paper Studio was run through the Xyron Sticker Maker. It easily made the ribbon into a sticker by putting adhesive on the back of it!
 |
| Ribbon made into a sticker (make sure that you burnish the edges with a bone folder well before removing the top plastic piece. It will make the adhesive stick firmer and the ribbon easier to remove!) |
 |
| Xyron Sticker Maker |
After applying the ribbon, Scotch foam adhesive was attached to the top and bottom of the back of the colored picture of Brenda. There was a space left to allow for the ribbon.
 |
| Adding foam tape to the back of Brenda's picture |
All there was left to do was add a sentiment!! One was chosen from the collection Kelly Creates Traceable Letters. This was stamped on the same white cardstock as Brenda. A Micron black Pen was used to create stitch marks around the sentiment. Now it matched the die cut piece Brenda was printed on!
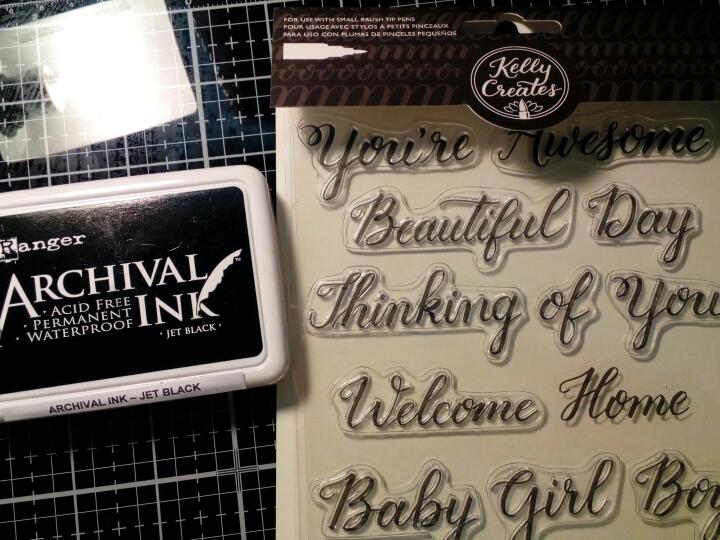 |
| So many Kelly Creates sentiments to choose from! |
 |
 |
| Stitching added |
The sentiment was trimmed and mounted on black cardstock leaving 1/8" border. This was popped up with foam tape and placed in the upper right-hand corner on top of the doilie.
Here she is, beautiful Brenda Bovine!

Many, Many THANKS go out to our very own wonderful artist, photographer, and designer, Tammy Sexton!
As always,
Remember, great things happen to those that create!
Artistically Yours,


Many Thanks to:
Tammy Sexton
cardmakingandpapercrafting.com
Amazon.com
Thank you Lori! Great blog post. I had fun with this project!
ReplyDeleteI loved it too Tammy! You guys are doing great! xoxo Jen
ReplyDelete